What Are The Steps To Adding A Concrete Driveway?
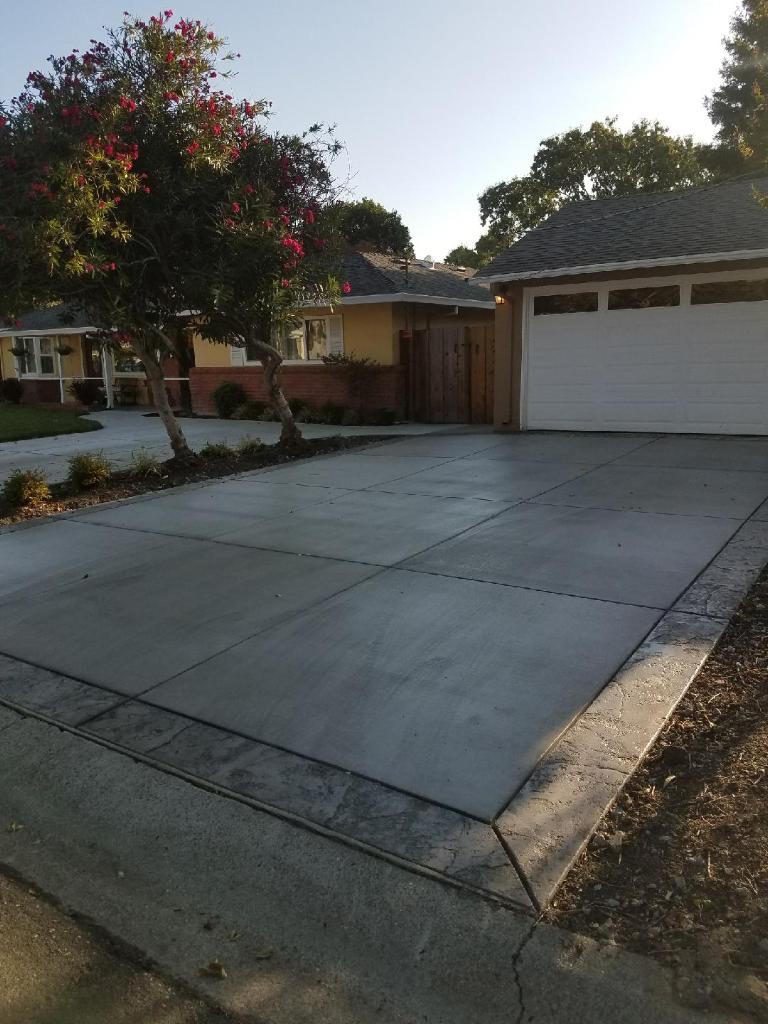
Whether you’re concerned about replacing your driveway because it’s displaying signs of wear and tear, or if you only want to boost the curb appeal of your home, concrete driveways are tough enough to handle whatever car you park in your garage.
To make a nice-looking driveway, you can even customize them with special patterns, bright colors, and textures. Concrete is a relatively good value for driveways and other exterior surfaces because of its beauty, resilience, and durability.
When it comes to paving, there’s nothing like a 2,000-year-old material. Concrete, which was invented by the Romans, is one of the most robust paving materials used today. It withstands heat and traffic better than asphalt and can also be used in permeable paving.
We’ll look at how to put in a concrete driveway for your home or company in this article.
1. Develop a plan.
This will involve plotting any buildings and flora, such as trees and bushes, that you want to hold. For a single lane, you’ll need at least 8 feet, but 10-12 feet is preferable.
2. Assess the soil’s ability to withstand the elements.
Check with the nearest county extension program, which is usually provided by the state’s land-grant institution. You can review your land’s soil survey, which will provide you with information on the soil’s suitability for your needs.
3. Determine if there are any underground utilities.
Would all of them have to be moved or assembled until the concrete is poured? It’s much safer and less costly to deal with this now rather than later.
4. Make a cost estimation.
This covers drainage base stone, asphalt, forms, reinforcement equipment, and materials, as well as labor, whether it’s a few boxes of pizza for some local teenagers or money for a skilled team.
5. Check to see if your driveway has any codes or permits or if it needs any.
You do not want to have to rip out your new driveway because you skipped this step or neglected to get the proper permits.
6. Set up poles and string to mark out your driveway.
This makes you plan where you’ll cut stuff and gives you a sense of how much room it’ll take up.
7. In the driveway, remove sod, vegetation, and topsoil.
You can actually save money if you’re working with a short drive and can do it by hand or with a small excavator, but advanced machinery will get the job done faster and with fewer headaches.
8. Place your base on top and compact it.
To press the foundation into the ground and settle it, rent a plate compactor or use a hand tamp.
9. Place the forms and rebar in the appropriate places.
Build and mount the forms, make sure they’re level and drainage-ready. Create a 2 percent slope (every 10′ long would drop 2.5″) to avoid rain puddles from forming. Place and level a 4″-6″ bed of gravel; in areas with low drainage or freezing temperatures, a gravel foundation is needed. Make sure the gravel foundation is compacted, and if possible, rent a compacting machine.
Rebar can help protect the concrete to prevent it from crumbling, and forms are as easy as a few bits of 3/4′′ plywood and heavy wooden stakes. To make rebar suits your driveway best, you will need equipment for cutting and twisting it, and tools that make tying go faster may help move the project along.
10. Plan and carry out the pour.
Start with the most difficult-to-reach places so you don’t have to go back to them until the majority of the pavement is in order.
Wet the gravel thoroughly. Begin laying the concrete in one corner of the form as a helper spreads it out with a shovel or hoe.
With a square shovel or mortar hoe, pour the concrete up against the form and compact it into all corners; by using a hoe, drive rather than dragging the concrete.
Overworking the concrete will pull the thick aggregate to the bottom of the slab and pick up small particles that may create cracks in the completed DIY concrete driveway. Instead, space out the batches around the form, stacking them one on top of the other to fill the form.
Finish and cure the concrete in alternating parts if you intend to keep the dividers in place. (Pretend it’s a checkerboard, and start with the red squares.)
Remove the stakes from the inside of the remaining pieces (black squares) and finish them until they’ve healed for at least three days.
11. Strike off
To level the concrete, move a strike-off over the form. If you’re working on a big project, do it batch by batch rather than all at once. Make two passes with the board, moving it slowly down the form in a side-to-side sawing motion.
Two people can make the job quicker and more effective, even on narrow forms. A third party will shovel extra concrete into any corners if necessary to save time.
After striking off, use a darby or bull float to smooth down high spots and fill small hollows left after striking off, depending on the scale of the project.
12. Edging Concrete
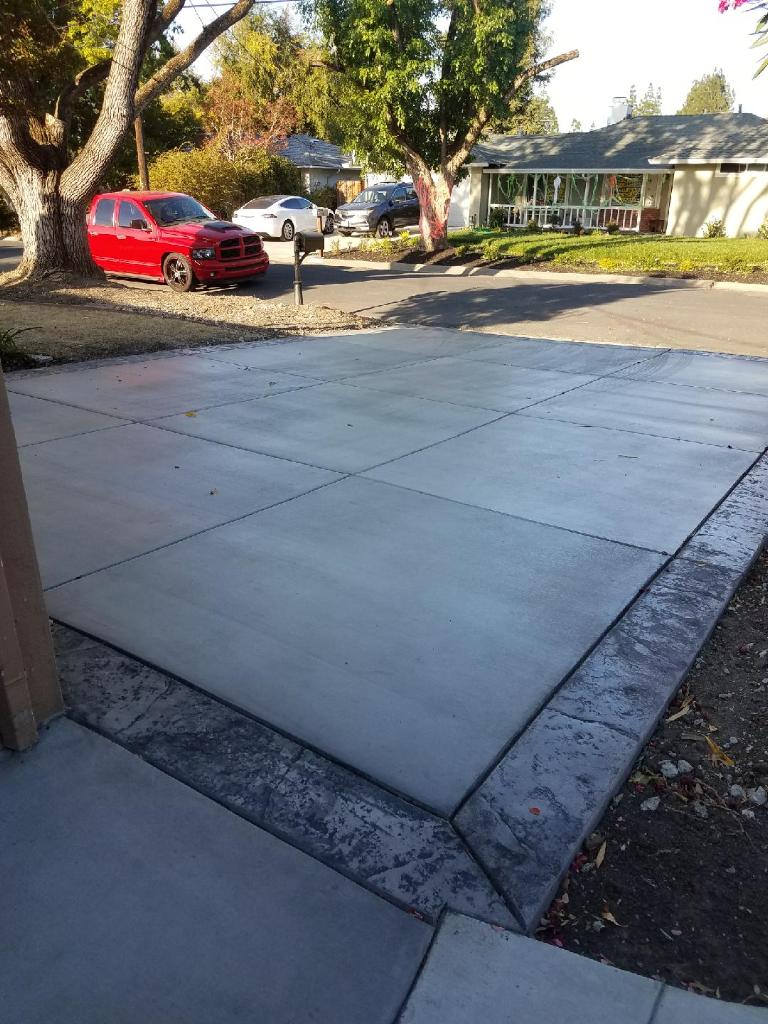
A curved edge on your DIY concrete driveway or sidewalk will help it resist chipping and prevent stub-toes and tripping. Start by running a mason’s trowel between the concrete and the slab form’s outer edges to edging the cement.
After that, use an edger. To smooth and compress the concrete, run it back and forth. If the tool doesn’t have a toboggan end, slightly lift the leading edge when you pass it.
13. Complete the surface.
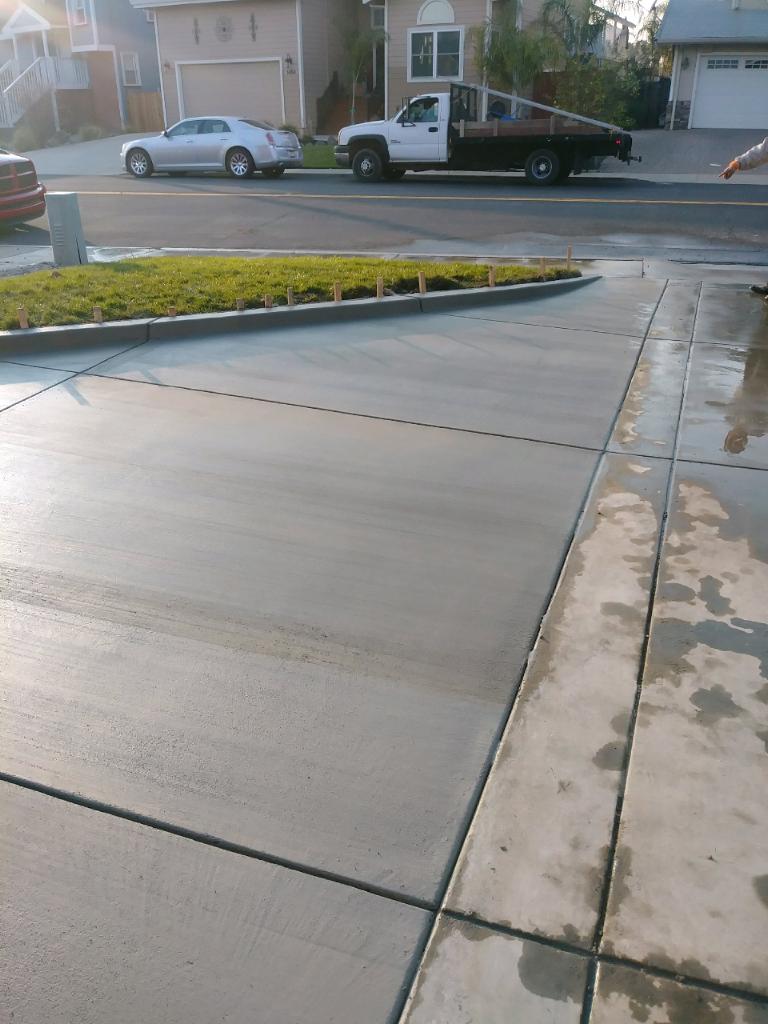
Brooming is a common treatment since it leaves the surface with a strong combination of smoothness and traction. Note to cut expansion joints every 8 feet and mist it if the weather is especially hot and dry to speed up the cure time.
14. Take away the forms.
Forms should be eliminated after 48 hours in temperature between 65 and 75 degrees Fahrenheit, allowing only enough malleability to cope with trouble areas.


Are You Looking for Help Building a Concrete Driveway, Addition, or Extension for Your Home?
Spaulding Concrete has been the San Francisco Bay Area’s top concrete contractor for over 30 years. We have been serving our community with driveway extensions and additions, flat surface concrete installation for sidewalks, city bike paths, commercial floors, parking lots, RV pads, steps, curbs, and gutters. We specialize in the completion of our projects in an effective, timely and reasonable manner. The qualified concrete experts at Spaulding Concrete will be on schedule, on budget, and meet or exceed standards by careful planning, professional execution, and strict quality control. To schedule your free quote, contact us today! We are proud to serve Alameda and Contra Costa County and the surrounding areas.
This page is happily provided by Internet Marketing Agency Magnified Media.
